


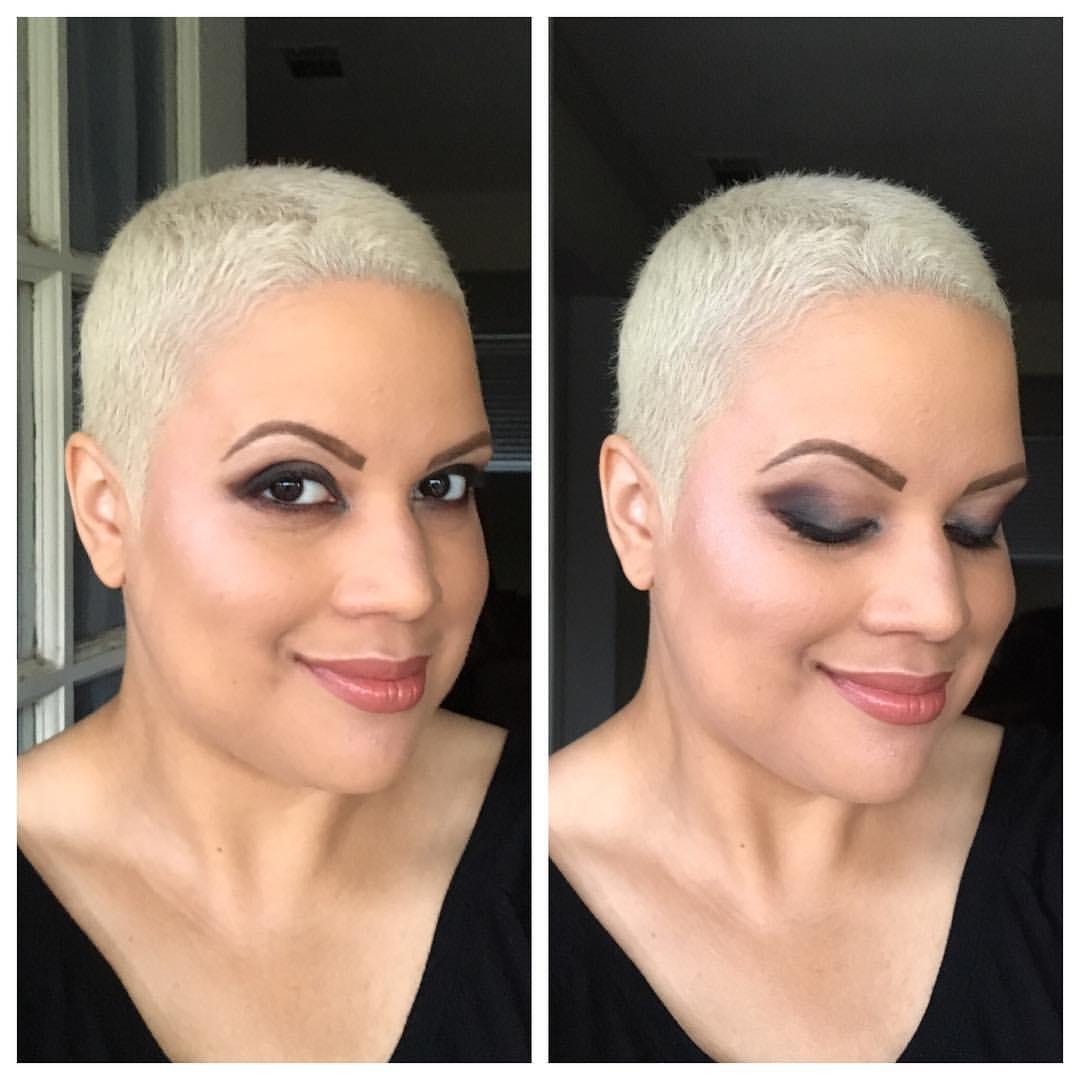
10 Easy Steps for Achieving the Perfect Smoky Eye
Don’t be Intimidated! It’s Easier Than It Looks.

The 10 easy steps for achieving the perfect smoky eye are outlined in this tutorial. Beginning with prepping your eyes, the tutorial goes on to explain the importance of applying transition, mid-tone, and darkest shades, as well as how to blend and apply eyeliner and mascara. The tutorial also provides tips for concealing mistakes, highlighting the inner corner of the eye, and cleaning up any fallout.
A Brief History of the Smoky Eye
I'm going to go out on a limb here and venture to say that the smoky eye has probably been around as long as people have been wearing makeup.
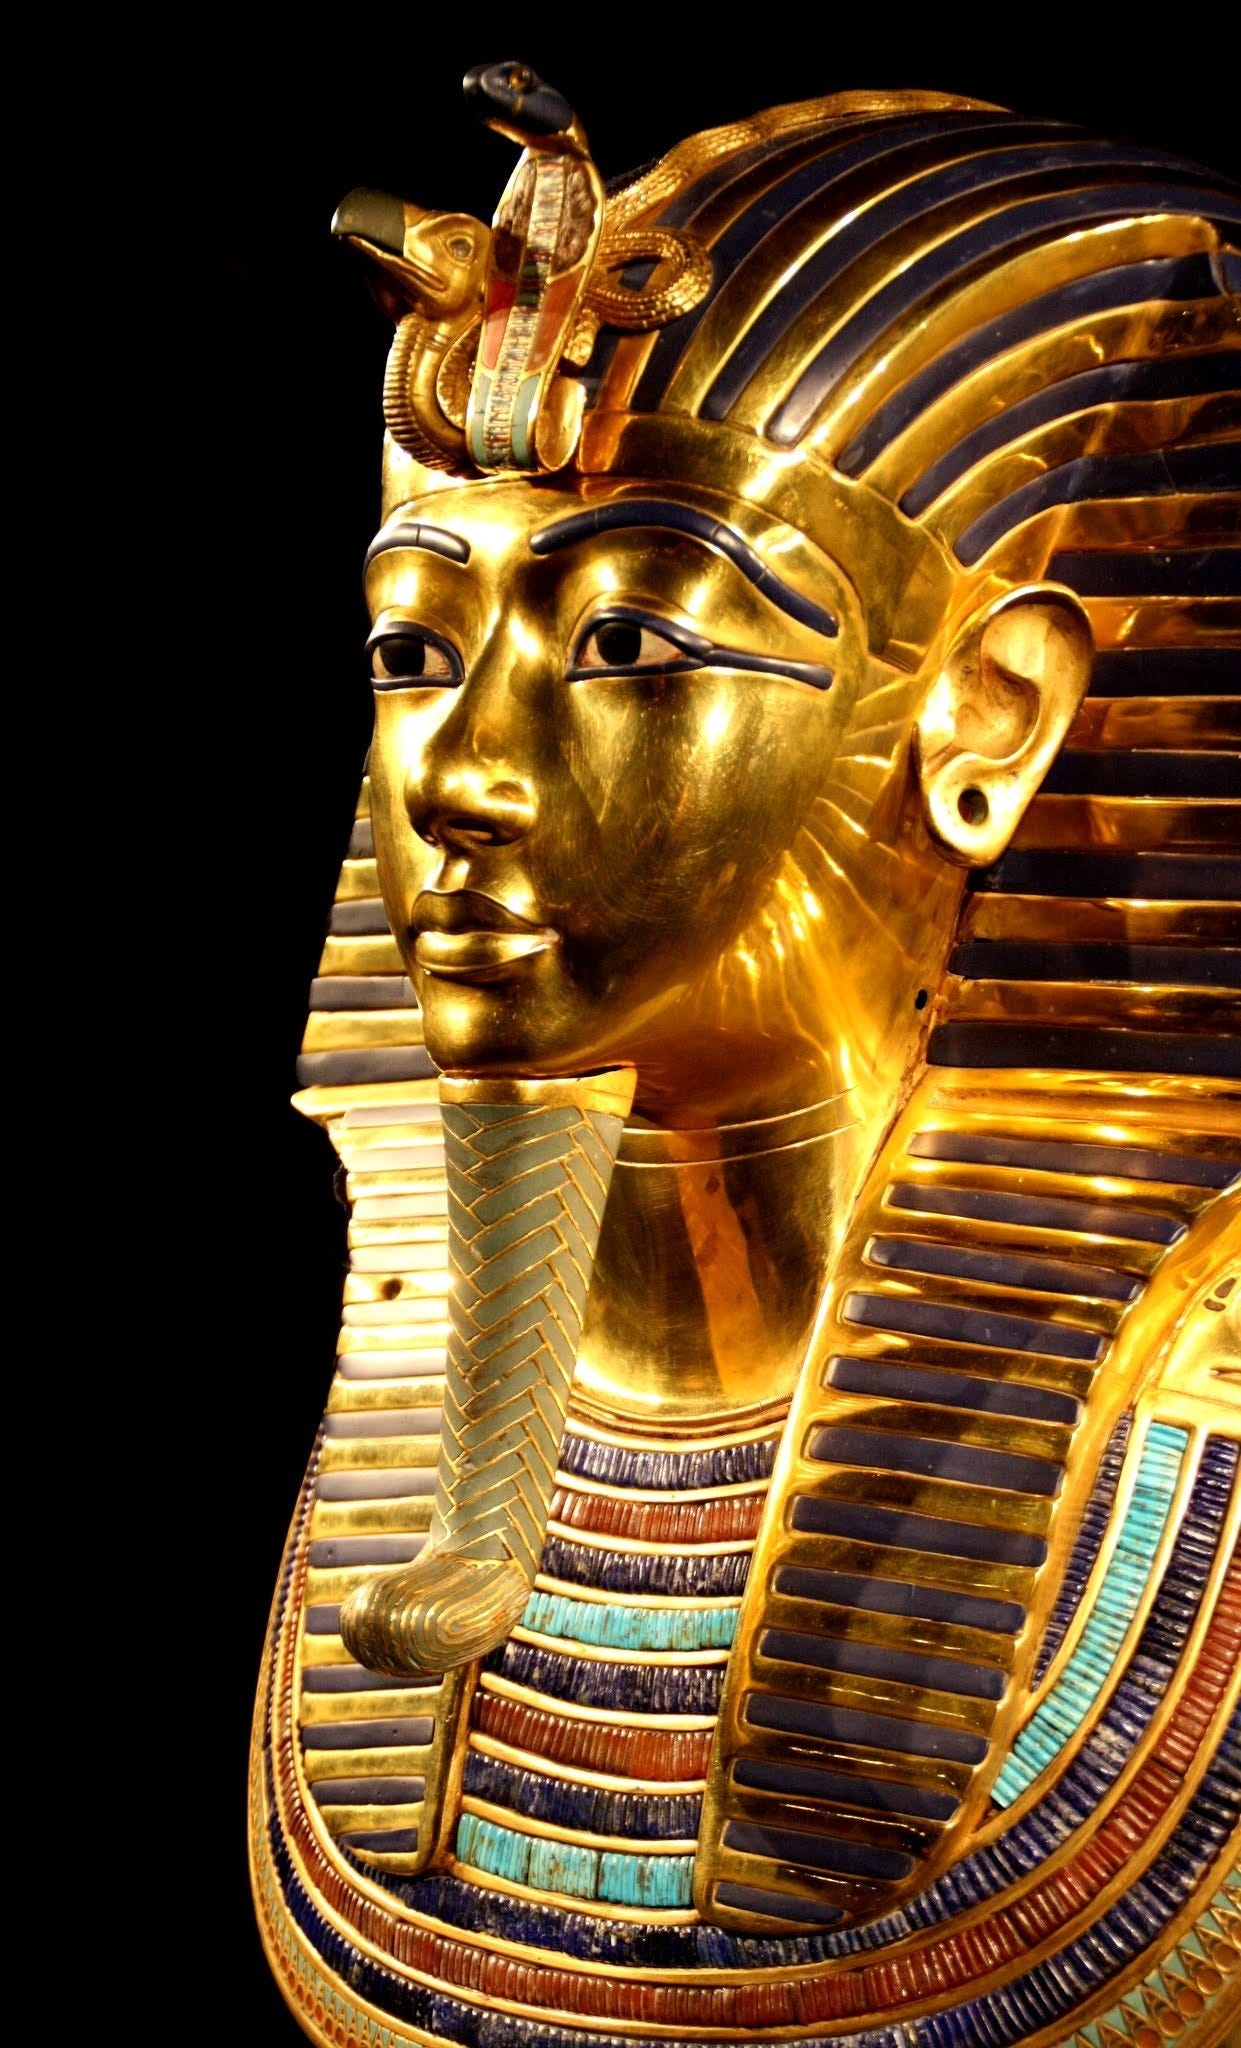
Now I’m no historian, but I do have eyes. And I have seen the artwork, the hieroglyphics, and the sarcophagi of the Ancient Egyptians on YouTube. A lot of them had very defined black eyeliner.
So, actual historians believe that most likely ancient Egyptians, men and women, used a combination of kohl and soot to create a dark, smoky effect around their eyes. They did this not only because it looked really cool, but also it helped to protect their eyes by deflecting the heat of the searing desert sun.
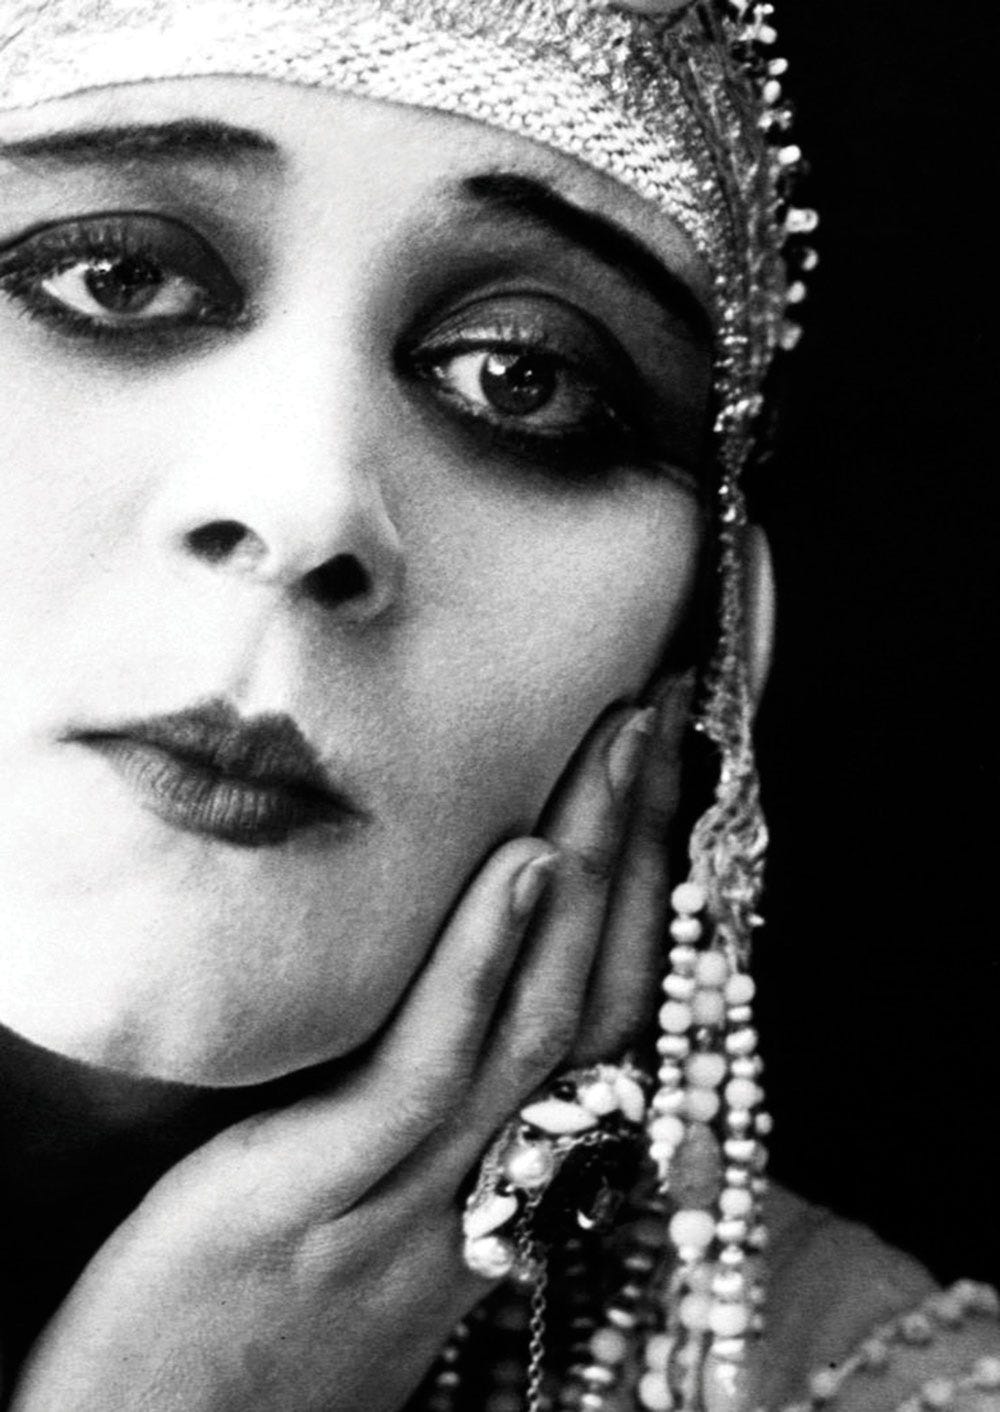
But moving on a little further and closer into modern times: In the 1920s, the silent film era actresses were known for wearing extremely dramatic dark eye makeup to really make their eyes pop on the screen.
You know, since they couldn't rely on the volume of their voices, they had to really have strong body language. And their facial expressions had to be the most expressive possible.
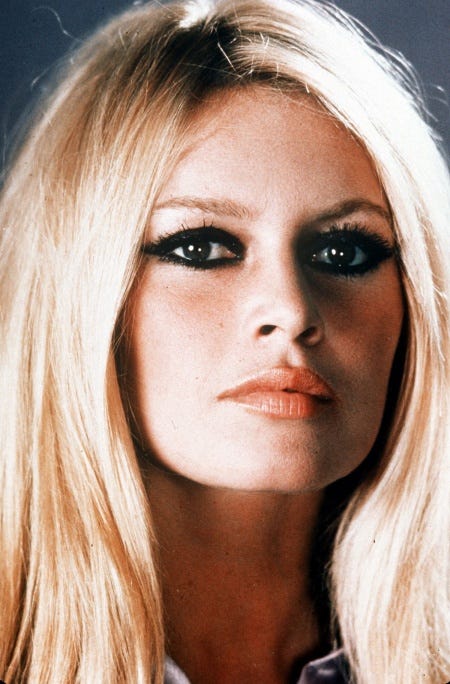
Now let's set the time machine for the 1950s and the 1960s: Once again, Hollywood. That's when the smoky eye really became a more common, trendy eye makeup look. You can thank pop culture influences of actresses such as Elizabeth Taylor, as well as Brigitte Bardot.
Now when it comes to creating a smokey eye, there's really no right or wrong way to do it. There's only different techniques. I'm going to go ahead and insert a ten-year-old YouTube video that I shot of me doing a matte smoky eye tutorial.
The method and technique I'm using in that video (it's only three minutes if you’re short on time) is different from the technique I'm actually going to talk about today. So my point is, it's artistic expression. Feel free to express yourself in whatever way works for you.
Now I know when you saw the title of this article, "Ten Easy Steps for Achieving the Perfect Smoky Eye," you might have been a little intimidated. Ten steps sounds like a lot. It's actually really not. It's just once you get going, it's part of the process, and I'm gonna break it down for you.
It's going to be:
Prep your eyes.
Apply a transition shade.
Apply a mid-tone shade.
Apply the darkest shade.
Blend, blend, blend.
Apply eyeliner.
Apply mascara.
Conceal any mistakes.
Highlight in the corner of the eye.
Clean up any fallout.
Step 1. Prep Your Eyes
So, beginning with the first step, prep your eyes. Now, let me start off by saying, smoky eye does not have to be black eyeshadow. It does not have to be gray. It can honestly be any combination of shades that you want. So don't get locked into thinking that it has to be black eyeshadow every single time.
With that being said, what is essential is that you do use an eyeshadow primer or even sometimes what they call an eyeshadow base. My favorite eyeshadow primer is the Urban Decay Anti-Aging Eyeshadow Primer Potion. I've been using it for over a decade, but there are lots of different ones out there. You have to find the one that works for you.
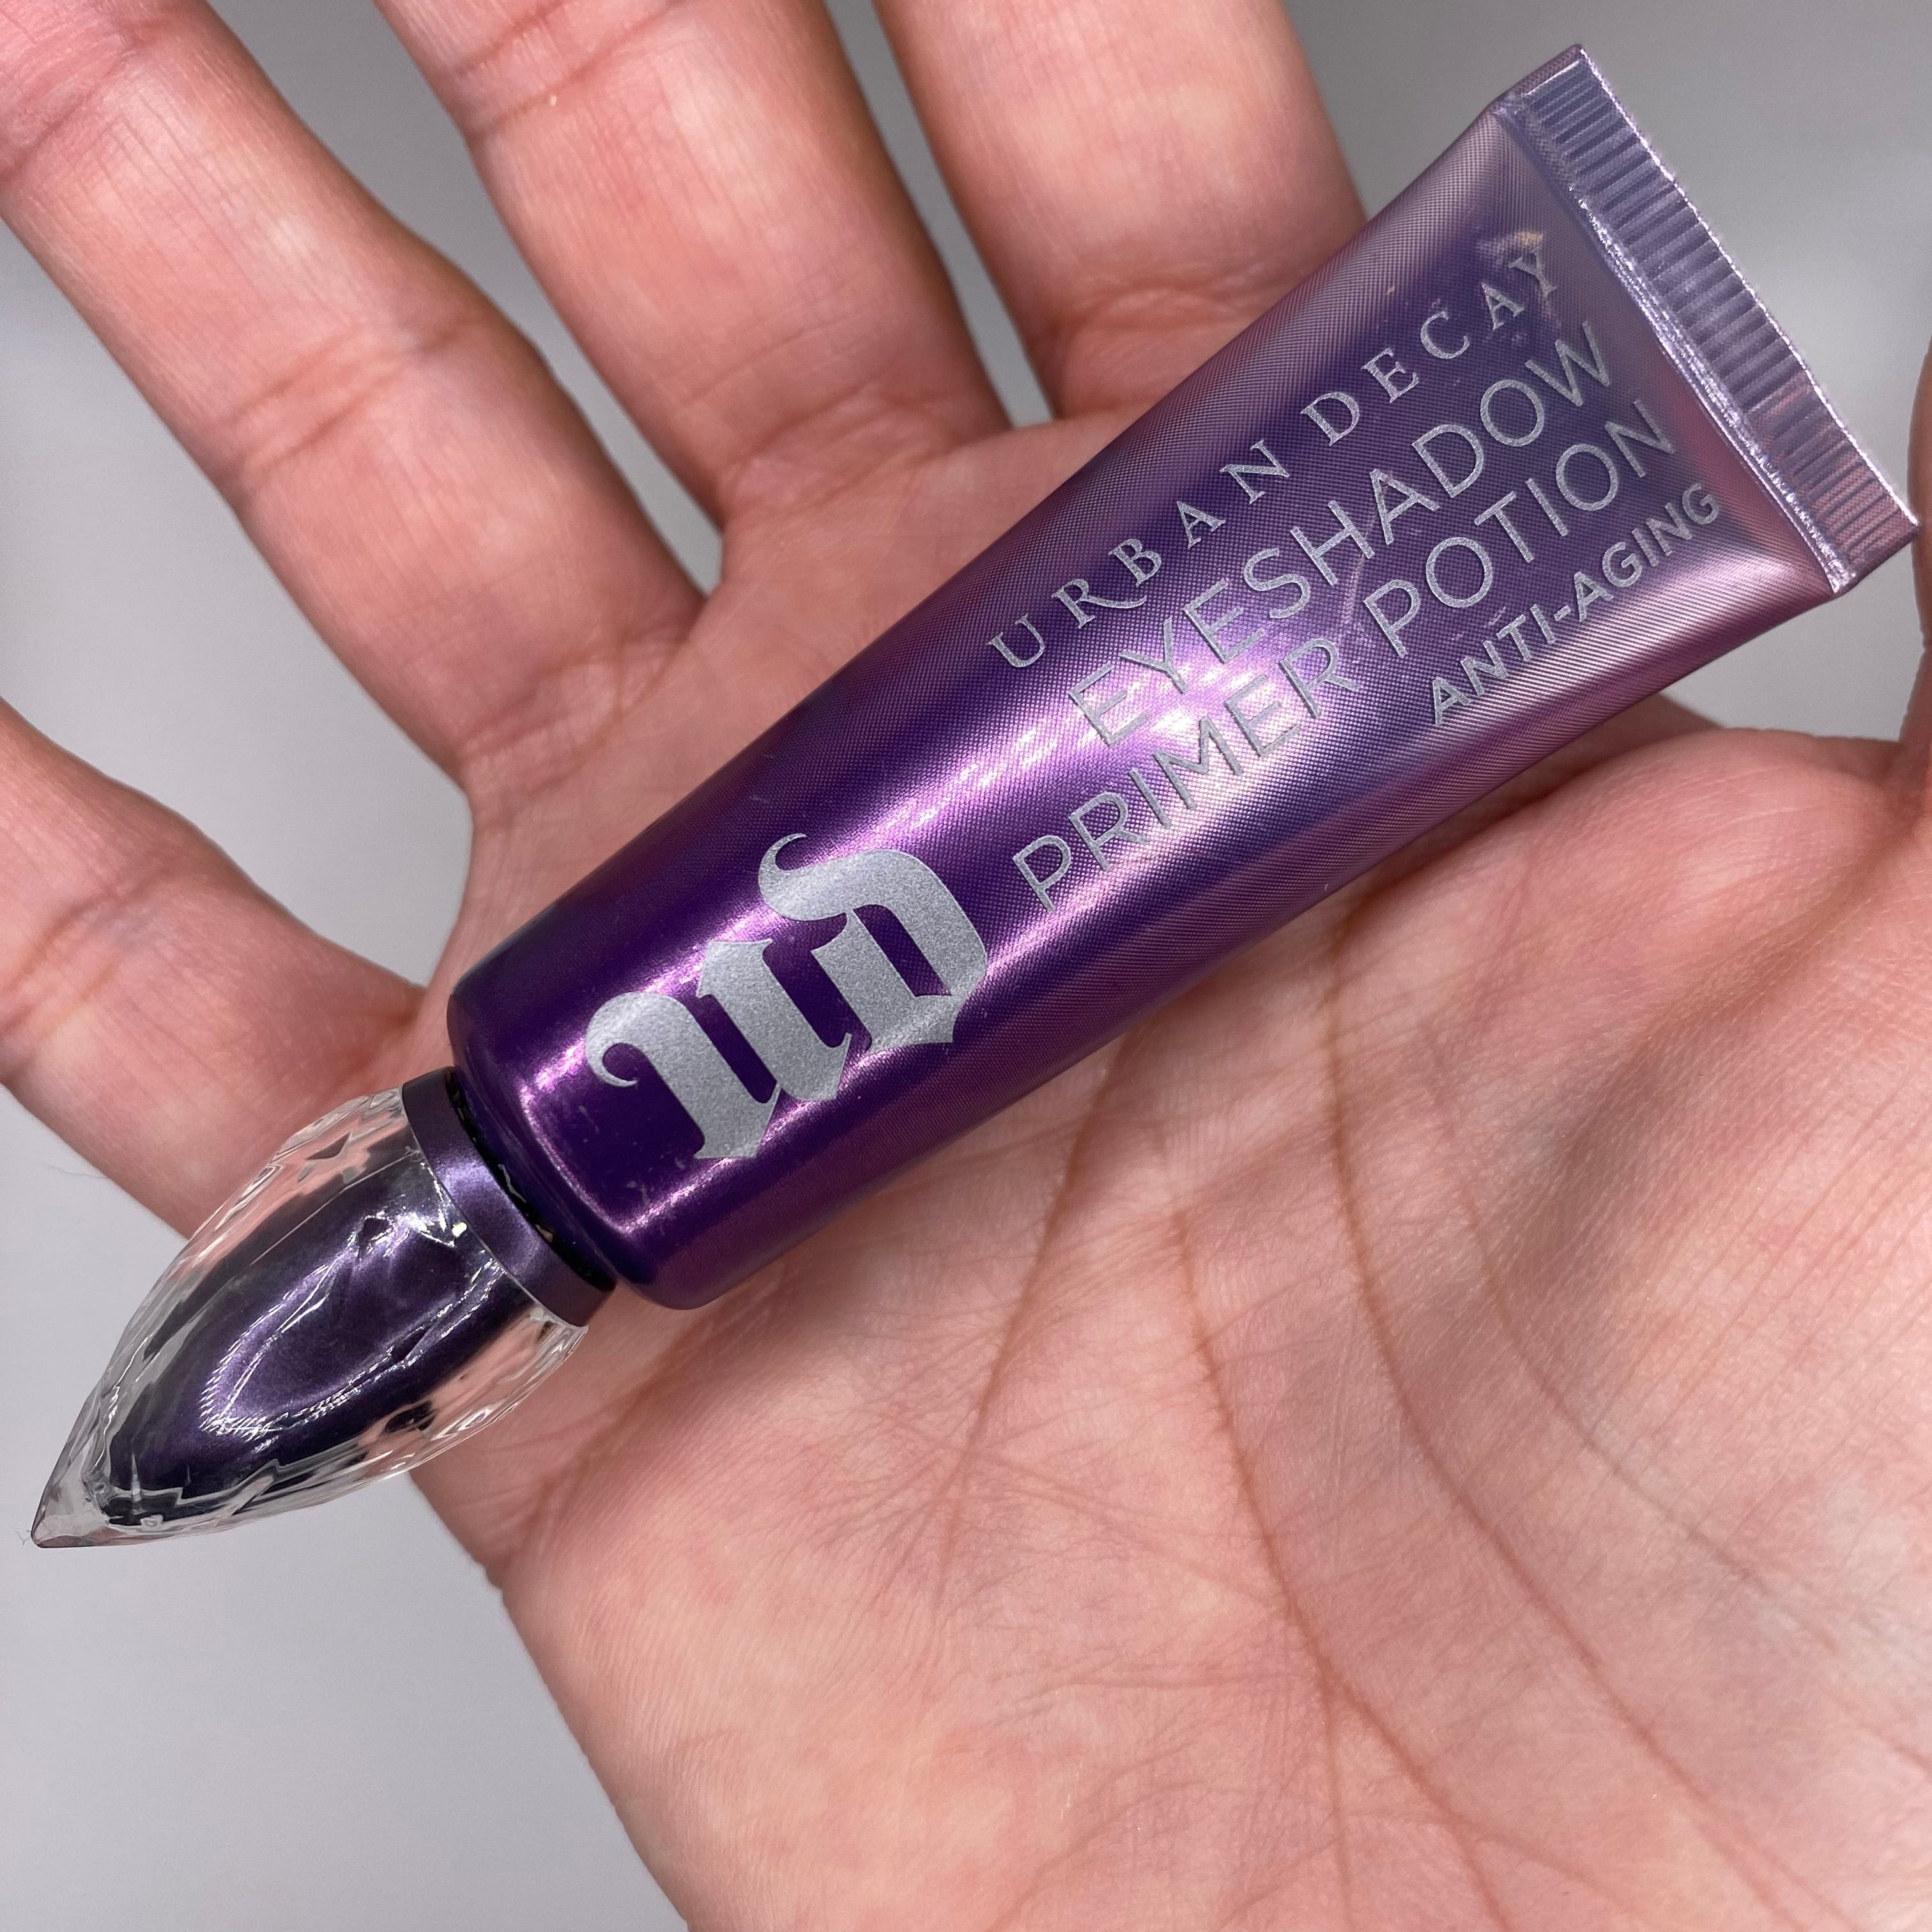
And the reason that you want to prep your eye is eyeshadow primers remove excess oil from your eyelids. That's what keeps the eyeshadow from creasing and fading and just moving around on your face and smudging and smearing. So you want to use an eyeshadow primer.
It's crazy when I think about it. I'm 42-years old. I've been around long enough that when I was training to be a makeup artist at Make-Up Designory in Burbank, California, eyeshadow primer did not exist yet.
The way we used to prep the eyes to absorb excess oil so that you could apply eyeshadow, work with it, and blend it evenly, was to take translucent loose powder. You would apply that to the lids to absorb excess oil. Then you could lay down the eyeshadow.
Now this is an old-school technique, so in a pinch, if you don't have an official eyeshadow primer or eyeshadow base, you can definitely use translucent loose powder to absorb excess oil. But that's a temporary fix, because once those eyelids start secreting their natural oils, it's going to start turning your eyeshadow into mud. As your eyelids move around throughout the day, opening and closing and squinting, the eyeshadow will start to crease, so that's just a short-term fix. So don't go cheap, invest in eyeshadow primer.
Another popular one is a lot of people love the NYX Ultimate Shadow & Liner Vegan Eye Primer.
And if you want to go old school and use an eyeshadow base, a lot of people love Soft Ochre Paint Pot from MAC Cosmetics. That's great if you're using a ton of different eyeshadows, really creating an elaborate look to really hold down the color.
But it doesn't work for everybody. If you use too much of the eyeshadow base, that can also keep the eyeshadow from looking its best. If you use too much, the product itself can crease in the lids, and then that's a whole other problem.
So, I recommend using something designated as an eyeshadow primer, and you squeeze out the tiniest amount. You squeeze out just a grain-of-rice-sized amount onto the tip of your finger, and you rub it all over your eyelid, all the way up to the brow bone, all the way into the inner and outer corners of your eyes.
I also recommend applying it on your lower lash line, not on the waterline, but really rubbing it all around. So that when you apply any eyeshadow underneath your eye or eyeliner, this will also keep both of those products in place for a lot longer than if you don't use an eyeshadow primer. So, prime your eyes!
Step 2: Apply a Transition Shade
The next three steps are going to deal with the actual eyeshadow application. Once again, I want to remind you this is not a definitive way to do a smokey eye. This is just one technique. I recommend this technique for people who are new to makeup, because it gives you a lot more room for error. Afterward, it's easier for you to go in and correct. You have more control over what's going on.
So instead of starting with the darkest shade, you start with the lightest shade. We'll call that the transition shade. Now, a transition shade is what you're going to use to help blend out any hard lines.
Let's say you're sticking with the typical grayscale/black smokey eye. The transition shade could be a matte white, but that's gonna be really stark, really dramatic. So you want something a little warmer toned.
Something like what you would describe as a shade of a matte cream. I'll give you a couple of examples of eyeshadow shades from different brands that would work well with that.
MAC Cosmetics eyeshadow:
"Blanc Type" is described as a creamy beige.
Ulta Beauty has a few interesting matte shades that would work great as transition shades:
“Pure Snow” is a light white matte, if you're going for that.
“Good Vibes”, which is a light pink matte.
“Coconut”, which is a light yellow beige matte.
So once again, you don't have to use a matte shade, and you also don't have to use white. If you're using a transition shade, it should just be something that's a lighter shade than your mid-tone shade and darkest shade.
All right, so moving on.
Once you've selected what your transition shade's going to be, the best place to put it is above the natural crease in your eyelid. In my case, I have a pretty large eyespan, and I like to take the color all the way up to underneath my brow bone.
You can take it all the way up to underneath your eyebrow, or you can just keep it just above your natural crease. The point is you just want to make sure it's there so that you have some color to work with, to blend with, to tone down the smokiness if it gets too crazy.
If you have mono lids or hooded lids, you will use your eye sockets to help guide you in creating the illusion of a defined crease… but that is another topic for another day. I just wanted to make sure that all my beauty enthusiasts feel included in this smoky eye look. 😉
Step 3: Apply a Mid-Tone Shade
Once you've applied your transition shade, now you are ready to apply a mid-tone shade. So just as this suggests, the shade is lighter than your darkest shade, but darker than your lighter shade.
This is also going to help transition that smokey eye, that way you don't just have raccoon eye, right? Unless that's what you're going for. That's totally fine. If you want to look like Avril Lavigne or blonde bombshell, Brigitte Bardot, I'm all for it. I've sported that look many a time. I'm probably sporting it right now as I'm writing this.
So where are you going to apply the mid-tone shade? You will apply it directly in your crease. Again, my lovely monolid and hooded lid girls, you will have to define where your crease is based on the eye socket in your skull.
But like I said, maybe if you guys want me to, I could probably make a separate post about that. Just let me know in the comments or you can email me and ask me about it. I’m happy to help you achieve your aspirations of smoky eye grandeur.
Apply your mid-tone shade directly in your crease. Apply it all the way from the inner corner of your eye to the outer corner of your eye. And don't worry about perfection right now. Just worry about color placement. You want to make sure that this shade only slightly overlaps your transition shade that you already applied.
Again, you don't have to use a grayscale color story when you're doing a smoky eye. It doesn't have to be black, gray and white. You can experiment. You can do a purple smoky eye. You can do blue smoky eyes. It's all about just transitioning from dark to mid-tone to lightest.
But in keeping with a grayscale smoky eye for this example, I'll give you a couple of shades from different brands that will work well as mid-tone shades for your smoky eye.
The first one would be from MAC Cosmetics. This is the shade “Graystone”. It is a cool, mid-tone gray.
If you like to shop at Ulta, check out their eyeshadow singles. They're only $9, and the shade I would recommend is called “Highkey”: a medium blue-green matte.
And if you prefer to shop at Sephora, they have a very expansive single eyeshadow range. I would recommend the shade number 346 “Hurricane Wave”. I would describe this as a matte, mid-tone gray.
So either of those three shades would be great if you're just practicing or doing a smoky eye.
All right, now let's move on to the actual smoke of the eye: the darkest shade.
Step 4: Applying the Darkest Shade
The purpose of applying the darkest shade is to really bring out the whites of your eyes. Now if you have especially light eyes - blue, gray, green, hazel - this is highly effective!
Simply apply the darkest shade generously all over your lid, but don't apply it all the way up to the crease. You want to stop just under the crease. That way, you can blend it and transition it into the next shade.
If you bring the darkest shade all the way up to the crease where you already have the mid-tone shade, well, it's going to be difficult to transition and blend because the darkest shade is going to overpower the midtone shade. Start with a light hand. Start with applying a little product and go from there.
I'll give you a couple of suggestions for the darkest shade. Since we're using a grayscale example for a color story, I'm going to have to disappoint you and tell you NOT to use the black, matte eyeshadow from MAC named “Carbon”.
You'll see a lot of people use this. A lot of makeup artists have this in their kits. It's just one of those eyeshadow shades that everybody has used at one time, as a makeup artist or even as a regular consumer. And it universally has a terrible reputation as a matte black eyeshadow.
Although MAC calls it their most intense rich black, for some reason, the formulation on “Carbon” has always been extremely powdery, with a ton of fallout, and it applies very patchy. It will just stick to different areas of your eyelid. It's extremely hard to blend out.
So, if you love MAC Cosmetics and you absolutely have to have a matte black eyeshadow from them, “Carbon” is the only one that they bill as a matte black. I highly do NOT recommend it. You've been warned. But you're an adult, and you can do what you want with your eyelids. Don't say I didn't tell you when you come running to me with patchy smokey eyes.
Can you tell that this article is not sponsored by MAC? LOL! 😝
A matte black eyeshadow that I would recommend would be from Urban Decay Cosmetics - 24/7 Eyeshadow Shade “Blackout”: a deep, black matte.
And just a heads up, matte black eyeshadows are hard to work with, period. It's just a lot of pigment. If you're new to makeup, just learning to work with a light hand and learning to blend out really dark shades like that takes practice. But that is one that I recommend.
Sephora Collection has their Colorful Eyeshadow Shade 34 - “Black Lace”, which is a matte black.
Essence Cosmetics has their Soft Touch Eyeshadow in the shade 6 - “Pitch Black”. This one doesn't have the best ratings, but it is only $1.99. If you're just practicing, it might be a good place to start. You can get this at Ulta.
Step 5: Blend, Blend, Blend
Now, this is how you really make magic happen - blending. This is probably the most important lesson I learned after attending Make-Up DesigNora in Burbank, California. Our instructor constantly told us, "Blend, blend, blend." And she was absolutely correct!
That is really what will make or break any makeup look - if you blend too little, or even blend too much and completely blend out the look. It's a delicate balance and it takes a lot of practice.
So, blending - in this case, obviously, we're going to use an eyeshadow brush. And the old school method when I went to makeup artist school was the "windshield wiper" method. You would just move your brush back and forth, back and forth, back and forth. Nowadays, people use the rotating circle method - just using really light, gentle circles moving inward and outward. Just blending out in circles.
I find this method definitely better at achieving a smoother blend. And that's really all I can say - just practice blending. Use a light hand when you blend. You don't want to move your eyeball around through your eyelid when you're blending with a brush - just barely touching the skin, very gently moving the product around.
This is also where eyeshadow primer comes in handy because if you haven't used an eyeshadow primer by now, the natural oils from your eyelids might have already permeated the eyeshadows. And then it's just going to be impossible to get a nice, clean, blended look. But you want to blend out any hard lines. You want to blend out all the shades onto the edges of each other so that you don't have any hard lines.
Blend, blend, blend! Using a fluffy eyeshadow brush that you haven't used while doing your makeup, a clean eyeshadow blending brush is going to be your best bet in achieving a properly blended smoky eye.
The fluffier the eyeshadow brush, the better, because it will softly move the eyeshadow around and blend out those hard lines and form those seamless transitions that you're going for with a smoky eye.
Step 6: Apply Eyeliner
Applying eyeliner adds that extra drama and definition to a smoky eye look. And you can experiment and see what you like best. If you've seen any of my makeup looks, you know that I love a super dramatic winged liner.
So one of my favorite things to use is a gel eyeliner, like in a pot with a brush. But I also love the liquid eyeliner pens for achieving that look.
The straight up liquid liner with the felt tips that you dip into the little jar: those are pretty intense. Those are hard to control. And unless you're really going for super duper dramatic, I say, steer clear if you're new to makeup and still learning.
Pencils are going to give you the best control. You can just draw a thin line and blend it out, smoke it out with the rest of your look. Also with pencils, those are usually the most ideal for using along your lower lash line.
If your eyes are not too sensitive, you can use it right on the waterline. That always just gives that really great effect of extra definition, but it will make your eyes look a little smaller. But again, that contrast of the black against the whites of your eyes is just an absolute amazing effect.
So just practice. You can go for a winged liner. Just following your natural lash line and blending it out, seems to be what works best for most people.
The universally accepted beauty standard of eyeliner is the color black regardless of what color eyeshadow you're using. But if you want to experiment, go for it. There's so many formulations of eyeliner nowadays. Just go crazy and have fun.
Step 7: Apply Mascara
I'm not gonna spend too much time telling you about applying mascara. I mean, if you've made it this far, I think you have a pretty good idea about mascara. If you really want to kick up the drama on your smokey eye, I say apply a pair of false lashes.
And then apply mascara to your lashes and false lashes. That really gives you that added glamour. And we'll just move on to the next thing.

Step 8: Conceal Any Mistakes
Perhaps I should have said this at the beginning of the article. 😅 Before you do your makeup, do your smokey eye. Since I didn't say that, I'm saying it now, but in this case, concealer is definitely your friend and ally.
This will help you to just really clean up your mistakes. This will allow your makeup to look more precise. If you're dealing with a lot of dark colors, well there's a chance there's probably going to be some fallout from the shadows, especially if you decide to go ahead and use “Carbon” by MAC, which I told you not to. So you probably have a ton of fallout below your eyes.
Concealer is going to really help you to clean that up and brighten your under-eye area so that your smokey eye doesn't make you look like raccoon eye.
Do your eye makeup first before the rest of your face makeup, especially if you're learning and practicing how to do a smokey eye.
And once you're happy with your Smokey eye, you can go in with a concealer to clean everything up, conceal any mistakes, and then apply the rest of your makeup.
Step 9: Highlight the Inner Corner of the Eye
I'm going to say that this step is optional. This is a makeup technique that comes in and out of fashion constantly, so it really just depends on your preference. There's no right or wrong. Usually, a shimmery eyeshadow is used, although you could also use just a really light, matte shade. But usually, it's going to be a shimmery eyeshadow, a very light shimmery eyeshadow on the inner corners of your eyes.
I almost want to say it might be a dated look, but like I said, it comes in and out of fashion, and there's no right or wrong whatever look you're going for. But yeah, just applying a generous amount of shimmer eyeshadow in the inner corners of your eyes can help add an extra dimension to your smokey eye to make it look a little less smoky and a little bit more glamorous. So it's up to you whether you want to do this step or not. You can try it out.
Honestly, a lot of times I actually leave it out because I think it does look a little bit dated. And if I'm saying something looks dated, well, then it's probably a dated look. But that's just my opinion and there are no set rules.
Step 10: Clean Up Any Fallout
Honestly, when it comes to doing a smokey eye, this is probably my favorite part - when you really just get to clean up any and all fallout. It’s like you’re finally unveiling your eyeshadow masterpiece.
Fallout is when, as it suggests, you're applying your eyeshadow, blending your eyeshadow and just the random specs of eyeshadow land on your cheeks, on your nose, underneath your eyes, etc.
Just use makeup remover, micellar water, makeup wipes, or a dampened makeup sponge. It's just really important that you clean up any and all fallout. That's why, again, it's best if you do your eye makeup before you do the rest of your face if you're doing a smoky eye look.
Because once fallout lands on your concealer, once that lands on your foundation, you're not going to get rid of it. You're going to end up just having dark under-eye circles. And if you've used any of the colors I suggested you could have, like just a blue-green tinge underneath your eyes. And I don't think that's the look you're going for. But really just clean up any and all fallout and apply your makeup.
And that’s it!
If you've made it this far in the article, first off, congratulations! You really wanted to learn this! And if you've managed to hang on this long, I hope I provided you value. I hope I’ve given you some tips and tricks. And like I said, 10 steps sounds like a lot. But as you can see, really, once you boil it down, it's not that much. It’s just the flow of things, right? The only thing that made this long was me talking.
So prep your eyes. You need your three shades: your transition shade, mid-tone shade, and your dark shade. You're gonna apply those. You're going to blend, blend, blend. You're gonna apply eyeliner and apply mascara. You're going to go in with your concealer, conceal any mistakes, fix any mistakes with your eyeliner with your eyeshadow brushes. You're gonna maybe highlight the inner corner of your eye? It's up to you. And then clean up any fallout and do the rest of your makeup and you're good to go.
Now you can post a selfie on social media, and everybody's gonna give you a million likes. That's what I experience when I go through this process. I’m obviously exaggerating.
If it doesn’t quite look the way you want it to the first time, well, it's probably not going to look the way you want it to the first couple dozen of times. It's a skill that you develop. Learning to see yourself and the way that makeup enhances your appearance takes practice.
I mean, I went to school so I could learn how to do it. Some people are naturally good at this. Hopefully, you're one of the naturals. And if not, I hope I gave you some helpful tips.
Thank you so much for checking out this article. I hope you learned something. If you have any questions, if you have any suggestions, if you want to correct me on something, go for it.
Go ahead and like, comment, share.
And if there’s something you would love for me to do a post on, I'm all ears. I'm always open to suggestions.
And that's it. Thank you so much for spending time with me today.
I'll talk to you tomorrow.
Heather N King
Fantastic post! Thanks for sharing!